Museum • Everything Else • Reenactor Cooler Challenge!

I have received a few deliveries of "Omaha Steaks", which arrive frozen and packed with dry ice in these styrofoam coolers. I figured I could build a wooden box big enough to stick one of these foam coolers inside, and it wouldn't look too out of place at a living history encampment. The next event is less than two weeks away, so the challenge is to design and build it within that time.
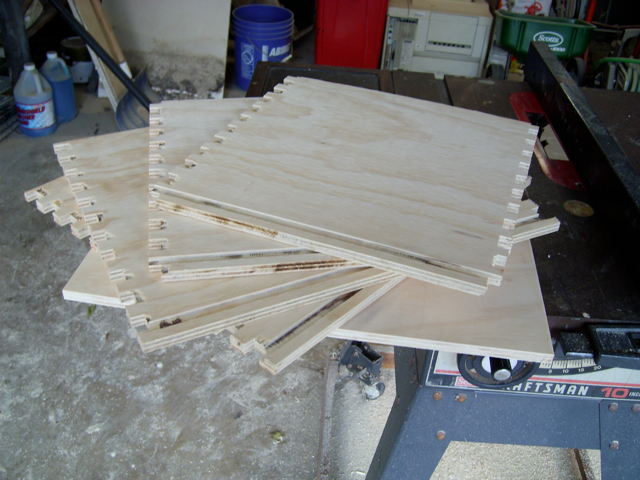
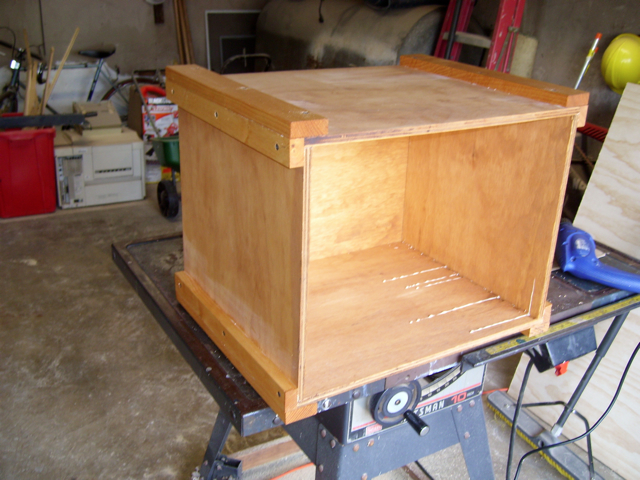
The challenge was to design and build in under two weeks. I wasted the first three days agonizing over the design, bit the bullet and bought material on the fourth day. I cut wood on day 5. The sides and bottom of the box are going to be made from (not period-correct) plywood, so later I'll have to hide the end-grain. I decided to join the sides with box-joints, and the bottom will be slotted into dados in the sides.
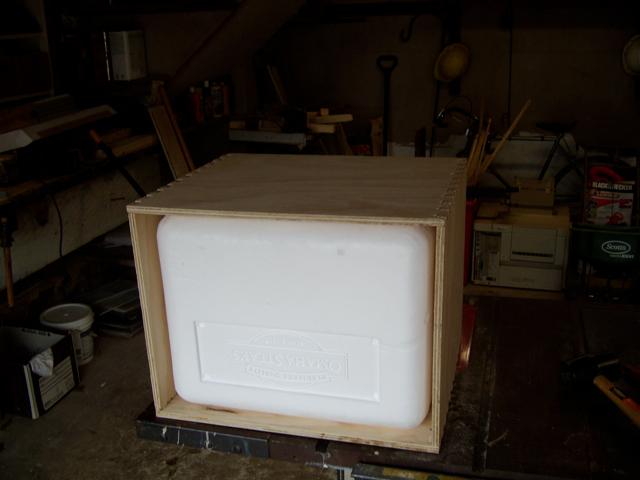
All this work would be pointless if the foam cooler doesn't fit inside. Whew!
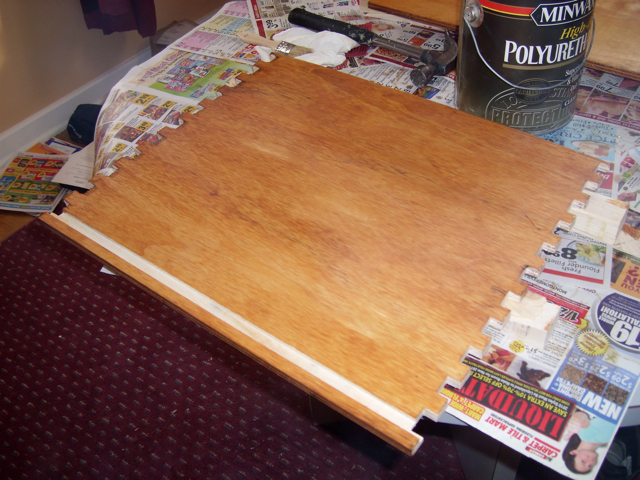
The first step in hiding the non-period plywood: stain. I generally like to apply stain before gluing, and then apply more stain after gluing and final sanding.
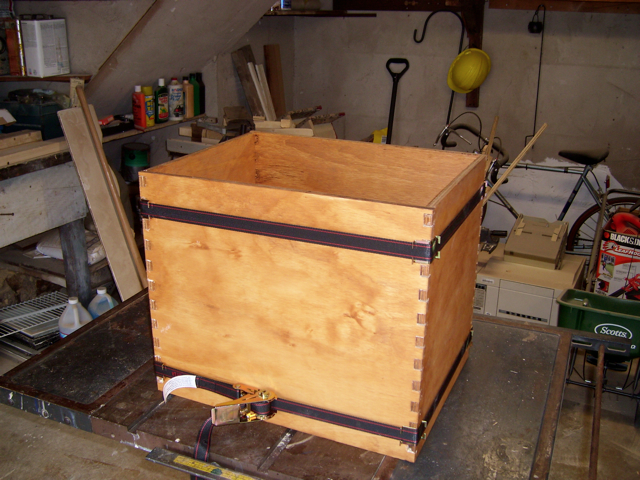
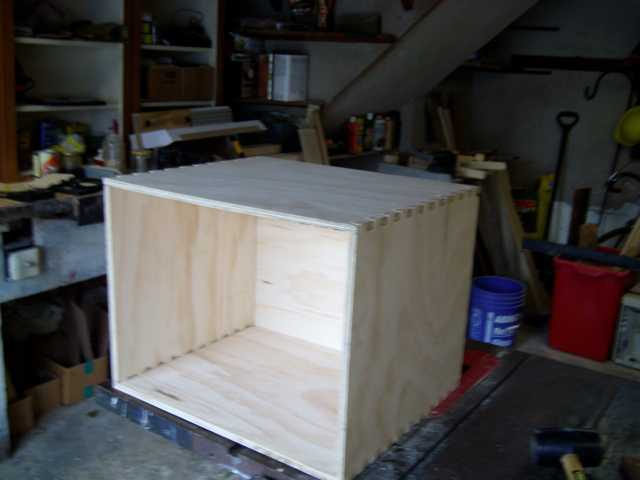
The best way I could think of to put pressure on all of the joints at once was to use band-clamps. The clamps are simply ratchet-straps plus metal corner fittings. If you look closely at the corners you'll see the plywood end-grain which I'll have to hide later.
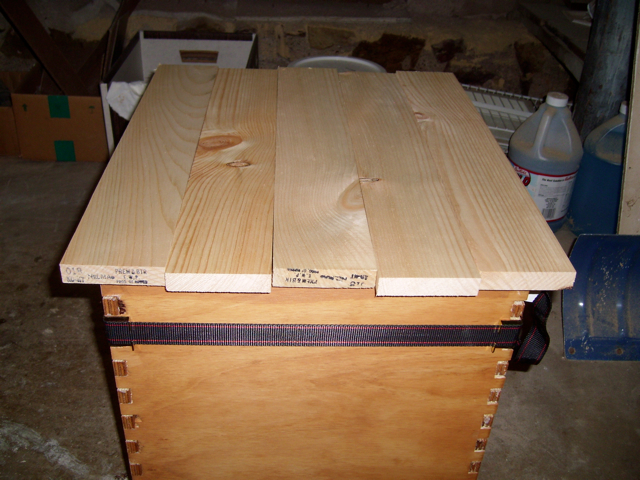
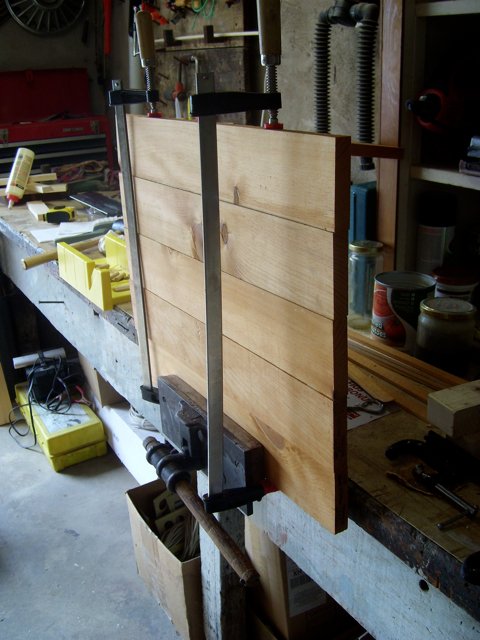
I can't think of a satisfactory way to make the top from plywood, so I'm going to build it up out of 1x4 boards. Here I've just set the pieces on the box to see how it's going to fit. In this shot you can perhaps see more clearly the plywood end grains that I still need to hide.
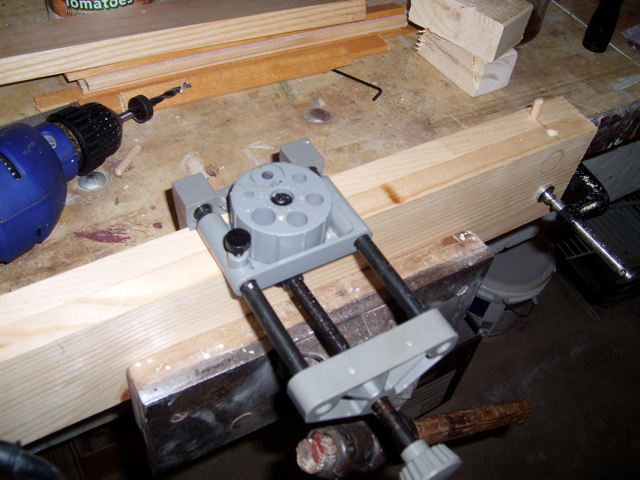
I'm using a special jig to help drill the dowel holes accurately.
The reason any woodworking project takes as long as it takes is the waiting time. That waiting time is mostly due to adhesives and finishes. Often you need to wait overnight for glue or varnish to cure, or just to allow stain to soak in and the volatiles to vaporize. I can do a lot of cutting and fitting in a day, but once something is glued, stained, or varnished I have no choice but to wait for nature to finish taking it's patient course. Building the top is a simple matter of drilling a few holes, applying glue,inserting the pegs, and clamping. Now that I've pegged two pairs of 1x4's together I'm stuck waiting overnight for the glue to dry before I can drill more holes and peg on another piece. All the pieces are here, but right now time is not on my side. Less than a week to go, and the clock is ticking...
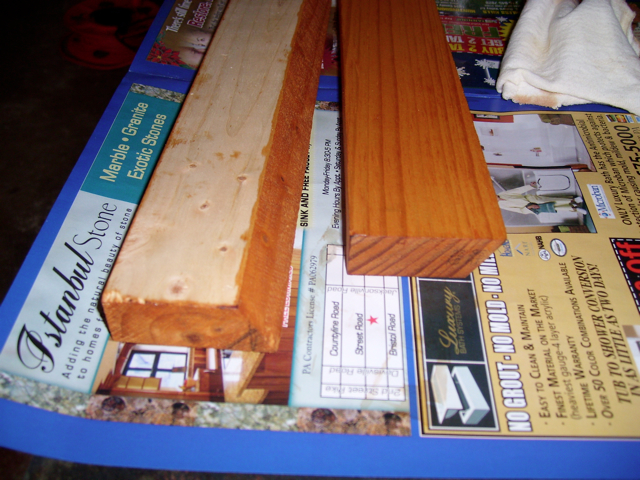
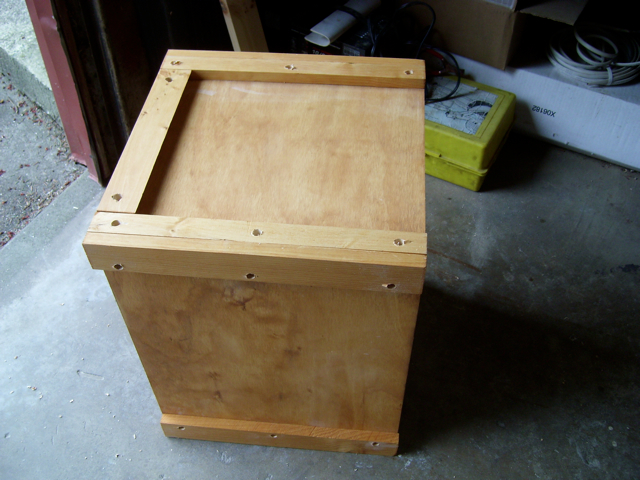
I liked the way the box joints looked, however plywood is very anachronistic for an 18th century camp box. I've covered the joints with these solid corner pieces. Phillips screws are also anachronistic, but I'm only using the screws as clamps while the glue cures. They will be removed tomorrow.
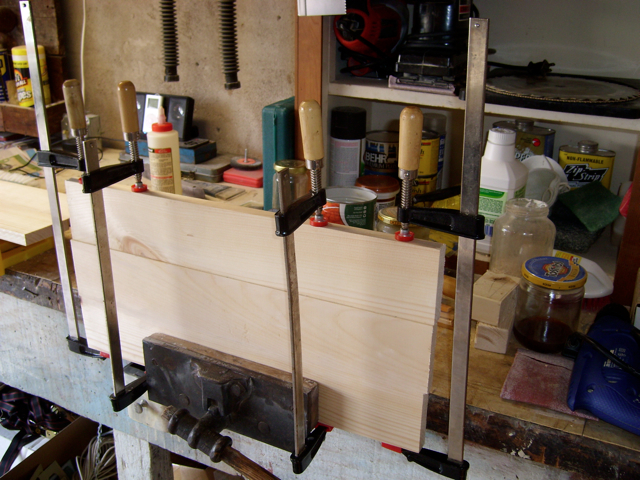
I was only able to add one board to one of the pairs I glued yesterday. Tomorrow I will attach the other pair to this and the top will be nearly complete.
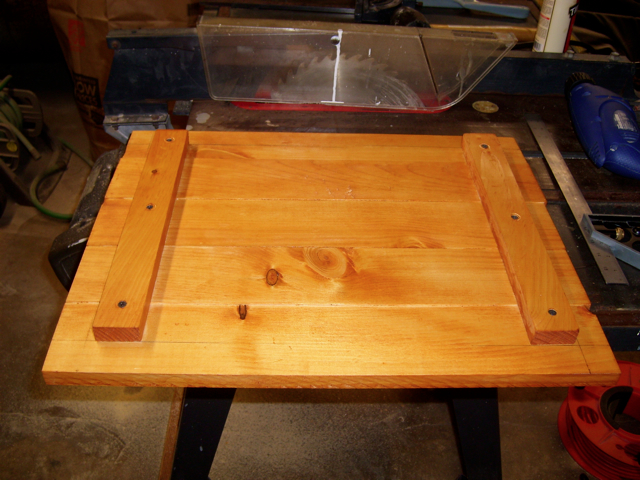
I'm adding pieces to serve as handles. I figured it would offer a better grip if I cut the pieces at a 30° angle.
... and here is one of the handles attached to the box. It turned out to be a surprisingly comfortable lift.
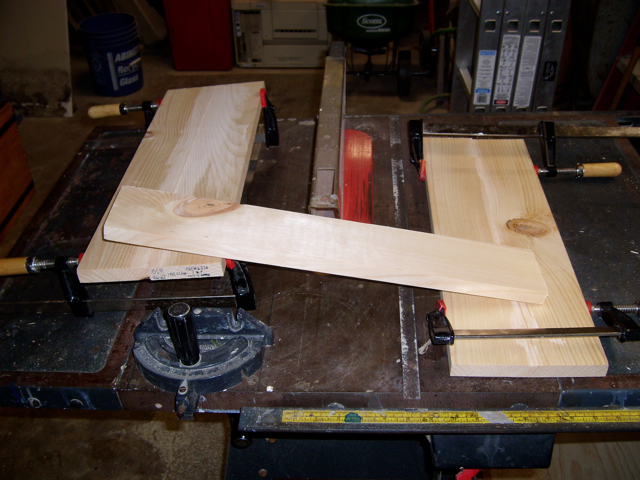
Finally joining the second pair of boards to the three I assembled yesterday. This is just about the limit of how wide my largest pair of bar clamps can reach. The only wider clamps I own are a pair of 48-inch pipe clamps (not counting the 15-foot band clamps).
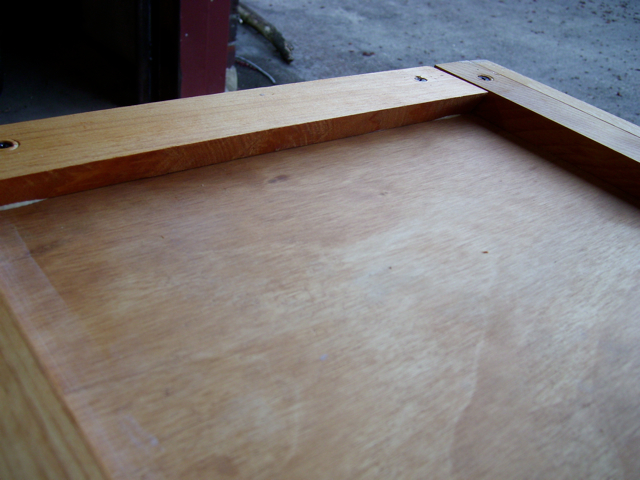
This picture is just to prove that I'm not simply covering up the screws. I've removed all of the screws and drilled 3/8" holes at each screw location.
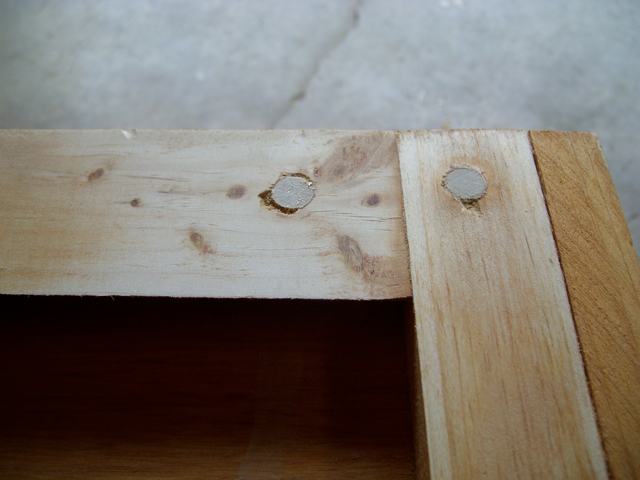
Here's a close-up of the doweling. On this project the dowels are more for appearance than actual strength. I think I need to use a different kind of drill bit. For some reason I had a lot of chipping on the outside, and tear-out in the inside.
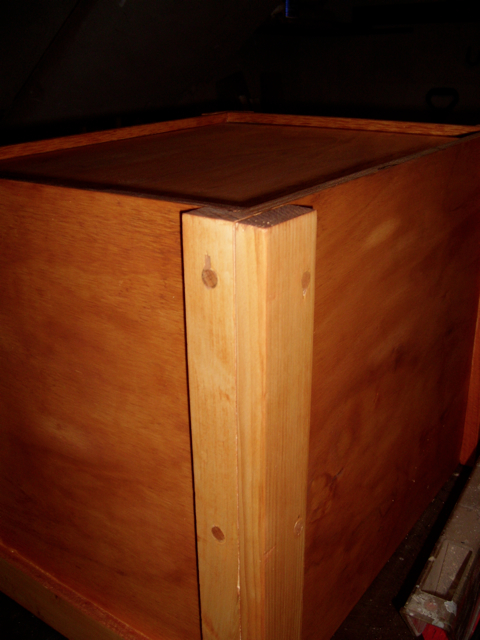
Here is a view of the dowels after some putty, sanding, and stain.
I've added a couple of crosspieces to finish off the top. Of course, that's a few more screws to remove and dowels to fit... (tick, tick, tick)

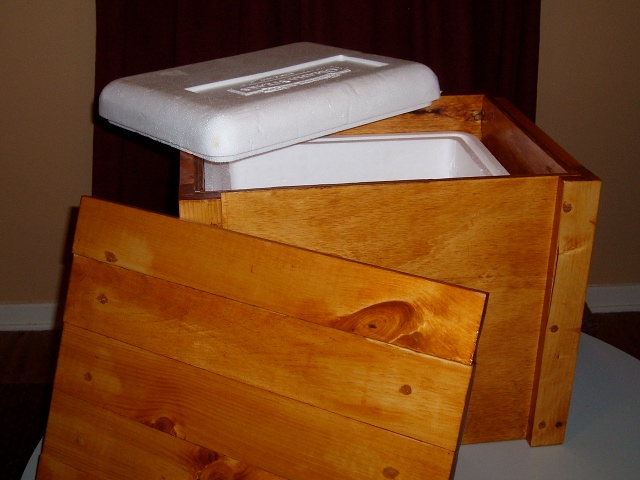
The first view of how the complete box will look. The top still needs to be doweled, and the whole thing needs to be sealed with varnish (which in-period will be referred to as "shellac"), but that's pretty much how the finished box will look.
Days 9 through 11 were filled with brushing on varnish and waiting for it to dry. Technically it's not quite complete since it's still a bit sticky in places and smells like polyurethane - but it has another two days left to dry completely before the event that inspired the challenge.
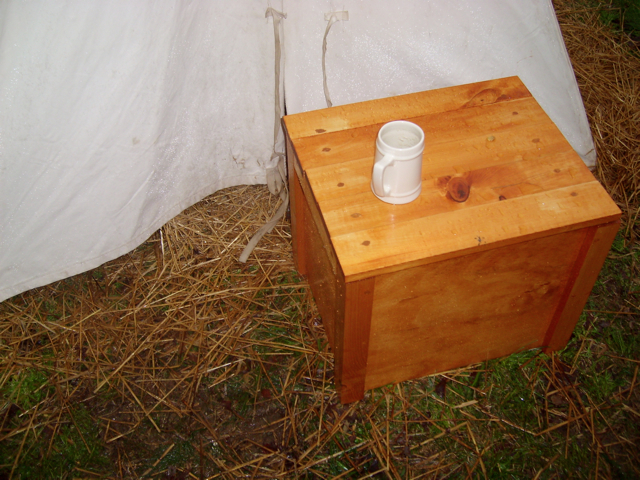
Well, here it is next to my tent.
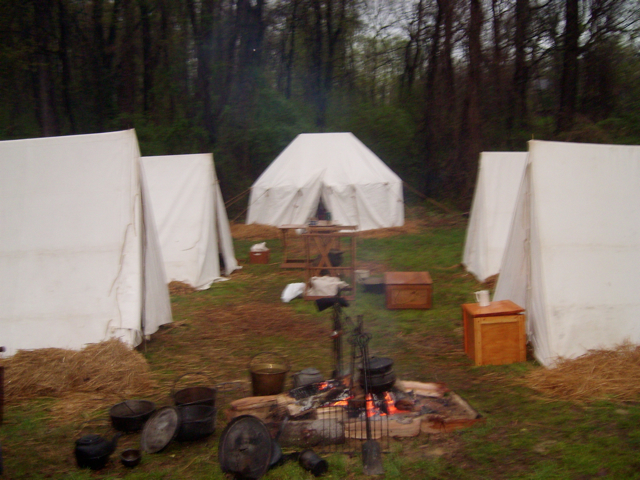
Unfortunately this pic looked better in the camera than it did when I could see it on the big screen.